
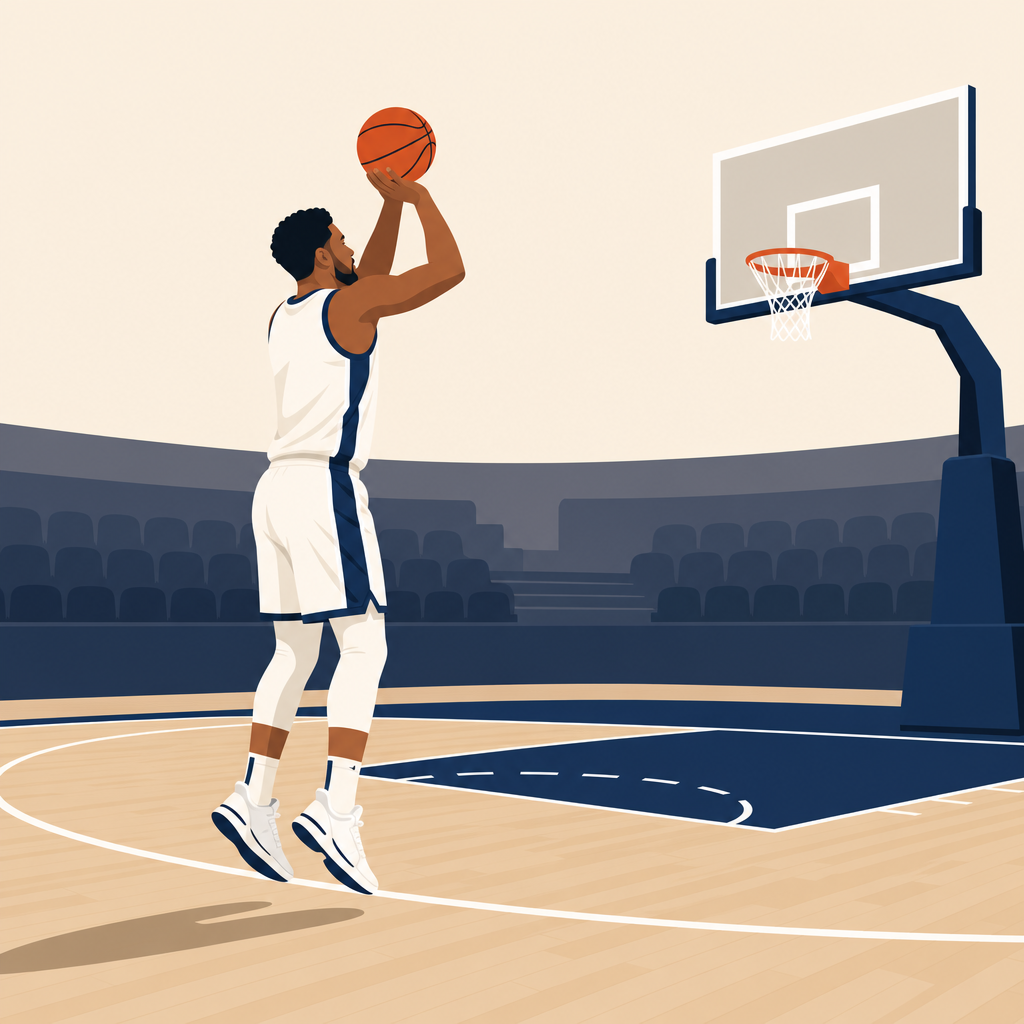
The mid-range jumper remains one of basketball’s most valuable scoring tools because it punishes sagging defenders, thrives in tight playoff possessions, and bridges the gap between rim pressure and three-point shooting. When players ask how to shoot a mid-range jumper like an NBA player, they usually mean more than making 15-foot shots. They want repeatable mechanics, footwork that creates balance, decision-making that produces clean looks, and practice habits that hold up against live defense. In my experience coaching guards, wings, and skilled bigs, the best mid-range shooters are not artists relying on touch alone. They are technicians who control stance, rhythm, release, and shot selection under pressure.
A mid-range jumper generally refers to a jump shot taken inside the three-point line but outside the restricted area, often from 10 to 20 feet. It includes pull-ups, one-dribble rise-ups, elbow jumpers, short corner shots, nail jumpers, and turnaround fades from the post. NBA players such as Kevin Durant, Devin Booker, DeMar DeRozan, Chris Paul, and Kawhi Leonard have shown that elite mid-range scoring is not outdated. It is situationally devastating. Defenses often take away layups and threes first, leaving space in the gaps. Players who can stop on balance and rise efficiently from those pockets become far harder to guard.
This basketball shooting guide serves as a hub for the broader Shooting category because the mid-range jumper touches every major shooting skill: form shooting, footwork, balance, release consistency, shooting off the catch, shooting off the dribble, creating separation, reading defenders, and building game-speed reps. If you improve your mid-range jumper correctly, your entire scoring package improves with it. Better lower-body alignment sharpens your three-point shot. Better shot prep helps your catch-and-shoot timing. Better deceleration and pickup mechanics improve your floater and pull-up game. The mid-range is not an isolated skill. It is a connector skill across offensive basketball.
To shoot like an NBA player, focus on a few non-negotiables. Start with a stable base, usually feet about shoulder width apart, hips loaded, and shooting-side foot subtly ahead if that helps alignment. Keep the ball path compact from pocket to release. Get your eyes to the rim early. Rise vertically, not drifting sideways unless the shot requires a fade or side-step. Finish with a relaxed wrist, full extension, and balanced landing. Those basics sound simple, but the difference between average and elite lies in how consistently you execute them after a hard stop, a defender’s contest, or a change of pace dribble. That is what the rest of this guide breaks down.
Build NBA-Level Mid-Range Shooting Mechanics
Great mid-range shooting starts before the ball leaves your hand. The shot begins with your stance, your pickup, and how efficiently your body stacks from the floor upward. I teach players to think of the jumper as an energy transfer sequence: feet into hips, hips into core, core into shoulder, shoulder into elbow, elbow into wrist, wrist into fingertips. If one link leaks energy, accuracy drops. The most common leaks are a narrow base, off-center ball pickup, excessive dip, and a guide hand that twists the ball at release.
Your base should let you stop hard and rise straight up. Most players shoot best with slight toe turn rather than perfectly square feet. That allows the shooting hip and shoulder to align naturally with the rim. The ball should move from shot pocket to set point in one smooth path, not loop behind the head. Elbow placement matters, but not in the old rigid sense of forcing it directly under the ball at all times. What matters is that the forearm is close to vertical at release and the ball comes off the index and middle fingers cleanly. A compact release beats a cosmetically perfect one that arrives late.
Balance is the separator. NBA shooters can make difficult shots because they master simple positions. On catches, land on two feet or in a clean one-two depending on angle and momentum. On pull-ups, decelerate with your hips low and chest controlled so your upper body does not whip backward. Your head should stay relatively still through the shot. If your eyes bounce, your touch usually does too. Hold your follow-through long enough to check whether your wrist stayed relaxed and your shoulders stayed level.
Arc and depth complete the picture. A flatter shot can go in, but it shrinks the entry window. Most strong shooters create enough arc to give the ball a soft descent without floating it. Aim for a consistent front-rim to back-rim target line rather than trying to place the ball perfectly in the center every time. On made shots, pay attention to whether the ball lands softly and how much margin for error your mechanics create. Soft, repeatable misses teach more than random makes.
Master Footwork, Stops, and Separation
Footwork is where mid-range scoring becomes professional. NBA players rarely get wide-open standstill jumpers inside the arc. They earn windows through pace changes, angles, and clean stops. The three foundational stops are the jump stop, the stride stop, and the one-two off the catch. The jump stop is ideal when you need control in traffic. The stride stop helps you cover ground into a pull-up. The one-two lets you flow from movement into alignment, especially from curls, flares, or drift actions.
For pull-ups, the quality of the stop determines the quality of the shot. Many young players sprint into the mid-range, then try to shoot while momentum is still moving forward. NBA guards decelerate before they elevate. Watch Chris Paul snake a pick-and-roll into the elbow. He gets the defender on his back, slows the play, plants under control, and rises with almost no wasted motion. Devin Booker does something similar from the nail area, often using a hard pound dribble to sync the ball with his feet. The dribble is not just for movement; it is a timing tool.
Separation usually comes from simple moves executed sharply. A hesitation can freeze a defender long enough for one clean dribble into space. A crossover into a quick inside-foot stop creates a direct line into the shot. In the post, a shoulder fake plus one rhythm dribble can create enough room for a turnaround. You do not need ten dribbles. In fact, elite mid-range scorers often use fewer dribbles than amateurs because they reach their spots earlier and protect balance.
| Situation | Best Footwork Choice | Why It Works | NBA-Style Example |
|---|---|---|---|
| Catch at elbow after pass | One-two into shot | Fast alignment with minimal drift | Kawhi Leonard on a pin-down catch |
| Pick-and-roll pull-up | Stride stop | Lets player decelerate from speed | Chris Paul at the right elbow |
| Crowded lane stop | Jump stop | Keeps body centered in traffic | Jalen Brunson in the paint pocket |
| Post turnaround | Inside pivot to fade | Creates space over length | DeMar DeRozan from the mid-post |
If you want better basketball footwork for shooting, train both directions equally. Most players are comfortable stopping off one preferred foot pattern. Defenders notice that. Build right-left and left-right pickups, inside-foot and outside-foot stops, and catches moving to both elbows and both short corners. The goal is not variety for its own sake. The goal is freedom. When your feet can organize the shot from any angle, you stop needing perfect conditions to score.
Use Smart Shot Selection and Read the Defense
NBA-level mid-range shooting is not only about making difficult shots. It is about choosing the right difficult shots. The best scorers hunt specific zones and defender reactions. Common high-value mid-range areas include both elbows, the nail, the short corner, and the empty-side pocket created when a help defender drops too deep. These spots matter because they appear naturally in offensive actions. A big in drop coverage gives up elbow pull-ups. A top-lock on a shooter opens a back cut or curl into the lane line area. A switching defense can create a smaller defender on the block for a turnaround jumper.
Read the on-ball defender first. If they go under a screen and the screener’s defender stays low, the pull-up is available. If the defender trails from behind, keep them on your hip and rise before the rim protector can contest. If a long defender crowds your airspace, one dribble sideways into a rebalanced pull-up may be better than a forced straight-line shot. Good shooters do not pre-decide every attempt. They gather information as they move.
Read help defenders next. Mid-range pull-ups are strongest when the rim protector is occupied and weak-side help is late. That is why skilled guards love the free-throw line area after turning the corner. The shot is not open because no one is nearby. It is open because the nearest contest arrives half a beat late. That timing edge is enough for a compact release.
Shot selection also means knowing your own percentages. If you shoot 48 percent from the right elbow and 33 percent on left-baseline fades, your practice should improve the weakness, but your games should lean toward the strength until the weakness becomes reliable. Track your makes by spot. NBA teams do this with synergy clips, player tracking, and shot charts. You can do a simpler version with notebooks, video, and a manager counting attempts. Honest data improves basketball shooting faster than guesswork.
Practice Like a Pro: Drills, Reps, and Feedback
Most players do not need more random reps. They need better-structured reps. A pro-style shooting workout usually progresses from precision to pressure: form shooting, spot shooting, movement shooting, live reads, and competitive constraints. Start close to the rim to check wrist action, elbow path, and touch. Then move to short mid-range spots such as both blocks, both elbows, and the center line. Make a set number cleanly before moving back or adding dribbles. Quality beats volume when mechanics are still settling.
Next, add game footwork. Practice one-two catches from both wings into the elbow area. Practice stride-stop pull-ups after one hard dribble. Practice snake dribbles, hostage dribbles, and inside-hand pickups out of ball-screen angles if you are a guard. Wings should add pindown curls and catch-turn-rises. Bigs should work short-roll free-throw line jumpers and face-up attacks into one-dribble pull-ups. Position matters, but all players benefit from learning the same shooting foundations.
Use constraints to force concentration. For example, make seven in a row from the right elbow before switching sides. Or alternate corners of the mid-range and require a swish or clean back-rim make only. Add a defender with a pad to simulate contact on the gather. Use a shot clock, even a phone timer, to limit indecision. Record workouts from the front and side. Slow motion reveals details your body hides in real time, especially drifting, heel kicks, and guide-hand interference.
Useful tools include Noah Basketball for arc and depth feedback, HomeCourt for tracking, and simple floor markers for foot placement. None of those tools matter, however, if the workout lacks intent. Every rep needs a purpose: balance, speed, touch, or decision-making. I have seen players improve more in four focused weeks of charted, game-speed shooting than in an entire summer of casual gym time. Deliberate practice works because it turns misses into information instead of frustration.
Fix Common Mid-Range Jumper Mistakes
Several mistakes appear again and again. The first is drifting sideways or backward on routine pull-ups. That usually comes from poor deceleration or a base that is too narrow. Fix it by practicing hard stops into vertical jumps and freezing your landing. The second is bringing the ball too low on the gather. Against defense, that hitch invites strips and late releases. Keep the pickup compact, especially on one-dribble pull-ups.
The third mistake is chasing contested tough shots before mastering open ones. NBA players hit difficult mid-range jumpers because their standard shot is automatic. Build the base shot first. The fourth is overthinking hand placement. Players often tinker with elbow angle and wrist position every day, never settling into a repeatable motion. Small adjustments are useful; constant reinvention is not. Give a change enough reps to show results before judging it.
Finally, do not ignore conditioning. Mid-range accuracy falls when legs tire because lift, timing, and landing all change. Finish workouts with fatigue shooting, such as five down-and-backs followed by elbow pull-ups, so your mechanics learn to survive real-game stress. That is where the jumper becomes trustworthy.
The mid-range jumper is still a winning basketball skill because it creates answers when defenses remove easy shots. To shoot a mid-range jumper like an NBA player, build from the ground up: stable mechanics, disciplined footwork, sharp reads, and game-speed practice. Learn the key spots on the floor, understand when the shot is available, and train your body to arrive balanced whether you are catching, pulling up, or turning from the post.
As the Shooting hub within Basketball Skills, this guide connects directly to every major scoring topic: form shooting, catch-and-shoot technique, shooting off the dribble, finishing footwork, post scoring, and shot selection. Improve your mid-range game and you improve all of them. The best part is that progress is measurable. Chart your makes, film your reps, and identify the footwork patterns and zones where your shot is strongest.
Start with two elbow spots, one pull-up move, and one structured workout you can repeat three times per week. Keep the mechanics compact, stop on balance, and let the reps build confidence. If you want to become a harder player to guard at any level, make the mid-range jumper a serious part of your training plan starting today.
Frequently Asked Questions
What are the most important mechanics for shooting a mid-range jumper like an NBA player?
The foundation of an NBA-level mid-range jumper is repeatable mechanics under pressure. Start with your base. Your feet should be about shoulder-width apart, with your knees bent and your weight balanced slightly on the balls of your feet so you can rise smoothly without drifting. Your shooting pocket matters too. Great scorers do not waste motion by dropping the ball too low or bringing it across their body. They catch, load, and go up in one clean sequence. Keep your shooting elbow under the ball as much as possible, guide the ball lightly with your off hand, and release with a relaxed wrist and full follow-through.
Just as important is body alignment. Your shoulders, hips, and feet do not have to be perfectly square in every situation, especially off movement, but they do need to be organized and balanced at release. NBA players are excellent at getting their body under control before the shot leaves their hand. That is what allows them to shoot accurately from 10 to 18 feet, whether they are pulling up, stopping on a dime, or fading slightly to create space. Focus on getting to the same release point every time, landing under control, and eliminating unnecessary movement. Smooth, compact mechanics are far more valuable than trying to force a textbook-looking jumper that falls apart once a defender closes out.
How do I create space for a clean mid-range shot instead of forcing contested looks?
Creating space in the mid-range is usually about footwork, pace, and timing more than raw speed. NBA players rarely need huge separation to get a shot off because they know how to put defenders slightly behind the play. A hard drive that makes the defender retreat, a sudden stop into a pull-up, a controlled jab step, or one sharp dribble into space can be enough. If a defender is sagging, rise confidently into the jumper. If they are crowding you, use your body to protect the ball and get into a pull-up after one or two dribbles. The goal is not to dance with the ball. The goal is to manipulate the defender and arrive at a balanced shooting spot.
You also need to learn how to read defensive positioning. When a defender opens their hips, that is often your cue to attack and stop short for the jumper. When a big defender is in drop coverage, the free-throw line area is often available. When help defenders take away the rim, the short pull-up becomes a high-value shot. This is why the best mid-range scorers are not just skilled shooters; they are smart decision-makers. Practice game-like scenarios where you come off a screen, snake a pick-and-roll, or reject a screen and stop in the elbow area. The cleaner your reads, the less often you will settle for rushed or heavily contested attempts.
What footwork should I practice to become better at mid-range pull-ups and stop-and-pop shots?
Footwork is what turns a decent shooter into a reliable mid-range scorer. Start with the basic one-two stop and the hop stop. On a one-two stop, you gather into the shot by planting one foot and then the other, which can feel natural coming off the dribble at speed. On a hop stop, both feet land nearly at the same time, which can help some players get square and balanced more quickly. Neither is automatically better for everyone. The best choice is the one that lets you stop under control and rise straight up without drifting left, right, or backward unless the shot specifically requires it.
You should also work on inside-foot stops, stride stops, and pivots out of triple threat. For example, when attacking from the wing, plant hard, decelerate, and rise into the shot before the defender can recover. Practice pulling up after one dribble, two dribbles, and change-of-pace dribbles so you can score without overhandling the ball. Add game-specific reps like catching at the elbow, ripping through into one dribble pull-ups, and curling off imaginary screens into quick balance. NBA players separate themselves because their feet are prepared before they shoot. If your footwork is sharp, your mechanics become easier to repeat, and your shot quality improves immediately.
How should I practice the mid-range jumper so it translates to real games?
If you want your mid-range jumper to hold up in games, you need more than stationary form shooting. Form work is still important because it builds touch, alignment, and consistency, but eventually your training must include movement, speed, and decision-making. Begin with short-range makes to groove your release, then progress to catch-and-shoot reps from the elbows, slots, and short corners. After that, add one-dribble pull-ups going both directions, then two-dribble pull-ups, then shots after changes of pace. The more closely your practice mirrors real possessions, the more useful it becomes.
Another key is to train under realistic pressure. That means practicing after hard cuts, after sprints, and against live contests. Set specific goals, such as making a certain number from each spot, or stringing together consecutive makes off game-like actions. Use constraints that force good habits: one dribble only, pull-up if the defender goes under, or shot only after a hard stop in the paint area. Film your workouts if possible so you can check whether you are staying balanced, keeping a consistent release, and rising straight up. Great mid-range shooters do not just shoot a lot; they practice with intention, detail, and enough competitive stress that the jumper feels familiar when the defense is real.
When is the mid-range jumper the right shot in a game, and how do NBA players decide?
The best mid-range shooters are selective, not reckless. The right mid-range shot usually appears when the defense takes away the rim and three-point line but leaves a pocket of space in between. That is why this shot becomes so valuable in playoff basketball and late-clock situations. Defenses are more disciplined, help is quicker at the basket, and open threes can be harder to generate. A player who can stop at 12 to 17 feet and score efficiently forces the defense to cover the entire floor. That changes everything about spacing and opens up other options for the offense.
Decision-making starts with understanding context. If you are open off a clean pull-up at the free-throw line because the defender is backpedaling, that is a strong shot. If two defenders are waiting and you are fading off-balance early in the possession, that is usually a poor one. NBA players constantly read defender distance, help position, shot clock, matchup, and rhythm. They know whether the mid-range jumper is there by design or whether they are settling because they failed to create an advantage. To make better decisions, study your own tendencies and ask simple questions in real time: Am I balanced? Did I create this look on purpose? Is this the best available shot for the possession? The more honest your answers, the better your shot selection and efficiency will become.