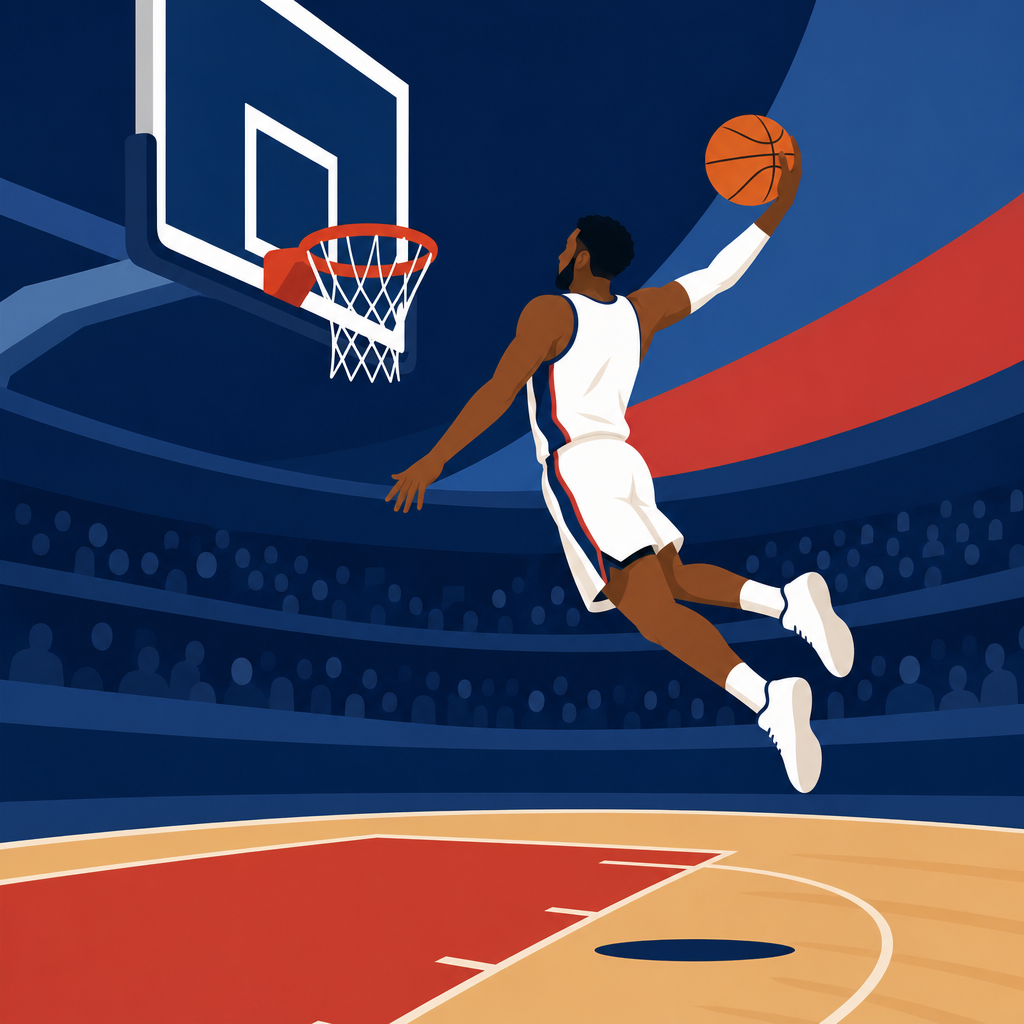

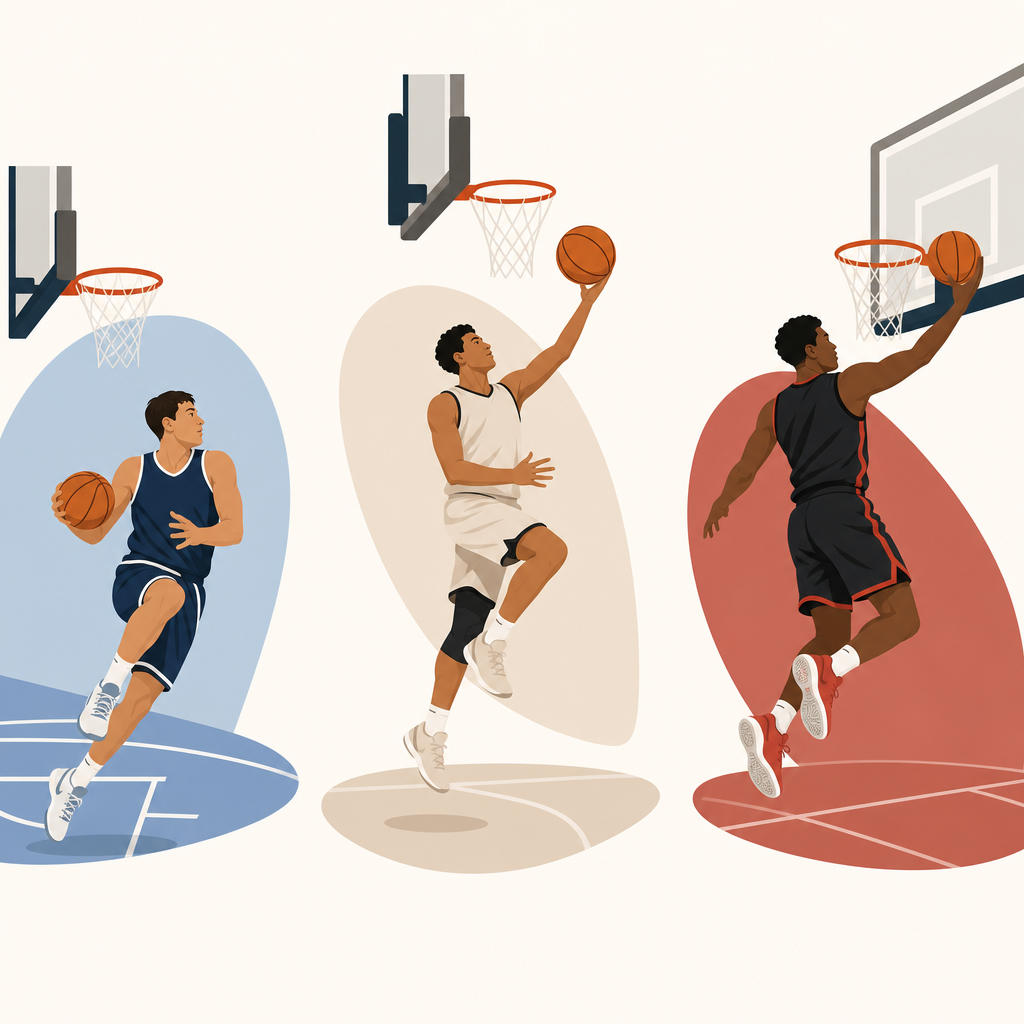
Finishing at the rim is the skill that turns drives into points, pressure into fouls, and half-open lanes into efficient offense. In basketball, “finishing” means scoring in the paint against real resistance: rotating shot blockers, trailing guards, tight angles, and shrinking space. The three most important craft finishes for modern players are the euro step, the floater, and the reverse layup because each solves a different defensive problem. The euro step changes direction to beat a set rim protector. The floater scores before the shot blocker can meet the ball at the glass. The reverse layup uses the rim itself as protection, forcing the defender to recover around the backboard instead of directly through your shooting line.
I treat these moves as the foundation of paint offense because they scale from youth basketball to the professional game. When I have coached guards and wings on finishing, the biggest jump usually comes not from vertical leap but from decision-making, stride control, and touch. A player who can stop on two, extend on one, and read the low man will create clean attempts even without elite explosiveness. That matters because most offensive possessions do not end in uncontested layups. They end in traffic, with the help defender arriving one step earlier than expected and the driving lane narrowing near the restricted area.
This hub covers offense through the lens of rim pressure. It explains how to finish at the rim, but it also connects finishing to the broader offensive toolkit: driving angles, footwork, pace, ball protection, weak-side reads, pick-and-roll timing, and shot selection. If you are building complete basketball skills, this is the offensive sub-pillar to return to because finishing sits at the center of efficient scoring. Teams can live with difficult pull-ups. They struggle against players who collapse the defense, finish through contact, and force rotations that open corner threes, drop-off passes, and free throws.
At every level, the math supports this focus. Shots at the rim usually produce the highest field-goal percentage on the floor, and fouls drawn in the paint increase offensive efficiency even when the initial shot misses. But “attack the basket” is incomplete advice. Good defenders wall up, tag from the dunker spot, and meet drivers outside the charge circle. To score consistently, you need a menu of finishes and a clear rule for when to use each one. That is what this guide provides, in plain terms and with practical details you can apply in workouts and games.
Why Rim Finishing Is the Hub of Offense
Offense becomes easier when a player can threaten the rim on demand. A credible downhill threat bends the defense before the final shot attempt ever happens. The on-ball defender opens his stance to contain the drive. The big defender drops deeper in pick-and-roll coverage. Help defenders sink off shooters to protect the paint. That chain reaction creates driving lanes, kick-out threes, pocket passes, baseline cuts, and offensive rebounding chances. In other words, finishing skill is not just about the final touch; it is the engine that powers spacing and rotation advantages.
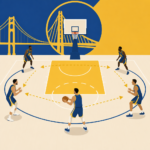
From a teaching standpoint, I organize offense around four paint questions. Can you win the first step? Can you keep your dribble long enough to move the low man? Can you finish over size without needing a full layup path? Can you score from the opposite side of the rim when the direct angle is taken away? The euro step, floater, and reverse layup answer those questions. The euro step punishes a helper who commits too early. The floater punishes a drop big who stays between you and the basket. The reverse punishes a trailing or rotating shot blocker by changing the scoring window.
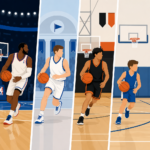
These moves also raise your offensive floor against better competition. Younger players often dominate with speed alone, then stall when defenders get longer and smarter. Craft finishes travel upward because they depend on balance, timing, and geometry. Watch guards such as Tony Parker, Kyrie Irving, Jalen Brunson, Shai Gilgeous-Alexander, and Tyrese Maxey. Their rim scoring is built on controlled pace and precise footwork, not only burst. A player who learns how to shift defenders with hips, shoulders, and strides will keep producing even when the game becomes more crowded and physical.
The Euro Step: Beating the Help Defender Side to Side
The euro step is a two-step finishing move used after the gather to avoid a defender who is positioned between the ball and the rim. In simple terms, you step one way to move the defender, then take a long second step across his body to create a clean lane. Done correctly, it is legal because the ball is gathered before the two finishing steps begin. Done poorly, it becomes a travel or an out-of-control leap into traffic. The key is that the move changes angle, not just direction.
Mechanically, start with a live dribble and gather the ball as your inside foot hits. Your first finishing step should attack the defender’s front hip or chest line, forcing him to commit. Your second step travels laterally or diagonally across his body into open space. Keep the ball tight through the gather, eyes up, and shoulders level. Young players often swing the ball wide on the first step, exposing it to strips. Better finishers keep the ball near the rib cage, then extend only when the release window appears. The final release can be same-hand, inside-hand, or off the glass depending on the angle.
The best time to use a euro step is against a rotating big who is set too early or against a nail helper who drops toward the restricted area. It is less effective when the lane is crowded by multiple bodies or when the defender is retreating under control. Think of Manu Ginobili, whose euro step became a signature because he used pace and deception, not just long strides. He forced defenders to declare first, then slid around their balance point. That is the teaching cue I use: make the defender choose, then take the empty side.
The Floater: Scoring Before the Shot Blocker Arrives
The floater, sometimes called a runner, is a soft one-handed shot released in the lane before reaching the rim. Its purpose is simple: score over length without challenging the big at his strongest point. Against drop coverage in pick-and-roll, the floater is often the correct answer because the screener’s defender is protecting the basket while giving up space between the free-throw line and dotted circle. If you drive all the way to the cup, you invite a vertical contest. If you stop too early, you settle for a low-value midrange pull-up. The floater fills that gap.
Good floaters depend on touch, trajectory, and timing. I coach players to release the ball high, from a compact pocket, with eyes fixed on the top third of the square or a soft front-rim target depending on distance. Off one foot, the move feels natural in stride and works well after beating the first defender. Off two feet, the floater offers more balance and deceleration, especially in traffic. The ball should come off the fingertips with upward lift, not a push from the palm. The common mistake is shooting it too flat, which turns the shot into a blockable line drive.
Elite examples matter here. Tony Parker built entire playoff runs on the floater because he could get into the lane, hold the big in place, and release before contact. Trae Young uses a higher, slower version to punish deep drop coverage and set up lobs when the weak-side tag arrives. The lesson is that the floater is not a bailout shot. It is a primary offensive weapon when the rim protector is waiting at the basket and your path to the glass is crowded. In modern offense, that makes it essential for undersized guards and valuable for any lead creator.
The Reverse Layup: Using the Rim as a Shield
The reverse layup is the answer when a direct finish on your original side is exposed to a chase-down block or a rotating big. By extending to the far side of the basket, you turn the backboard and rim into legal protection. The defender must recover around the basket rather than through your release point, which buys the extra fraction of a second needed to finish. This is especially effective on baseline drives, transition attacks, and any play where the help defender is coming from behind or from the middle.
Footwork determines whether the reverse is smooth or rushed. After the gather, your inside shoulder should stay between the ball and the defender. Jump off the foot that lets you drift under the rim without fading too far from the glass. Use the underside of the backboard as an aiming reference and finish high enough to avoid the shot blocker’s reach from behind the play. Many missed reverses come from over-speeding under the rim and ending up too deep behind the basket. The fix is to arrive under control, keep the last dribble low, and let the final step create the angle.
Guards often assume the reverse is only for acrobatic finishers, but it is actually a high-percentage solution when taught properly. Kyrie Irving’s touch makes the move look spectacular, yet the principle is simple and repeatable: if the defender owns your near-side window, score on the far side. For youth players, the reverse also builds ambidexterity because it forces finishing with either hand from changing angles. That carries over into broader offensive development, especially in transition and from drives that start on the wing or baseline.
When to Use Each Finish
Players improve fastest when they link each move to a defensive read instead of treating finishing as a bag of tricks. Use this framework in drills and film study.
| Finish | Best Defensive Look | Key Cue | Main Risk |
|---|---|---|---|
| Euro Step | Help defender arrives early and squares up | Move the chest, then cross the body | Traveling or exposing the ball on gather |
| Floater | Drop big protects rim from inside the paint | Release before the shot blocker reaches you | Flat arc and rushed touch |
| Reverse Layup | Chase-down or rotating contest takes away near side | Use the rim as a shield | Drifting too far under the basket |
That table can guide offensive reads across your whole game. On a side pick-and-roll, if the big stays back, the floater is available. If the weak-side low man steps up early outside the charge circle, the euro step can beat him laterally. If you win the edge on a baseline drive and the center rotates late, the reverse is usually safer than forcing a high-glass layup into his body. The point is not to memorize moves in isolation. The point is to connect footwork to spacing, timing, and defender positioning.
Training Progressions, Common Mistakes, and Offensive Links
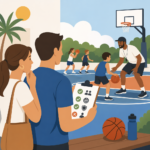
The fastest way to build finishing is through layered constraints. Start with no defense and rehearse footwork from both sides: one-dribble euro gathers, one-foot and two-foot floaters from five to ten feet, and reverse layups using either hand. Then add pads or guided contact so players learn to keep the ball tight and finish through bumps. Next, add a coach as the low man who changes position at the last second. That forces genuine reads. I want players making the same move for the same reason every rep, not random improvisation that looks creative but teaches nothing.
Common mistakes are predictable. On euro steps, players gather too late, which creates travels, or take the first step too wide, which kills balance. On floaters, they lean backward and flick with the wrist only, producing inconsistent arc and distance control. On reverses, they rush under the basket without seeing the backboard angle. Video is useful here. Slow motion will show whether the gather is legal, whether the eyes stay on target, and whether the off arm protects space without pushing off. Tools like Noah Basketball can help on arc feedback, while basic phone video is enough for footwork review.
As an offensive hub, finishing should connect to everything else in basketball skills. Ball handling matters because a high, loose dribble invites digs before the gather. First-step mechanics matter because shoulder advantage determines which finish becomes available. Passing matters because once defenders fear your rim pressure, drop-off passes and corner skips open naturally. Shooting matters because defenders who must honor the jumper are easier to beat downhill. If you are building out this offense section, the next related topics should include attacking closeouts, pick-and-roll reads, passing out of drives, deceleration footwork, and finishing through contact. Master the euro step, floater, and reverse layup, then build the reads around them. That is how complete offensive players turn paint touches into efficient, repeatable scoring.
Finishing at the rim is not a highlight skill reserved for elite athletes. It is a trainable offensive system built on footwork, timing, touch, and reads. The euro step, floater, and reverse layup matter because each solves a specific problem defenders create near the basket. If the help defender beats you to the spot, move him side to side with the euro step. If the big sits in drop coverage, score early with the floater. If the near side is crowded or a chase-down is coming, use the rim as protection with the reverse. Those simple answers make offense more efficient and more consistent.
The bigger lesson is that strong finishing improves every part of offense. Once you can threaten the paint and convert under pressure, defenses collapse sooner, rotations get deeper, and passing windows widen. Your drives produce not only layups, but also free throws, kick-out threes, and dump-offs. That is why this page sits at the center of the Basketball Skills offense hub. It connects directly to ball handling, shot creation, pick-and-roll decision-making, and spacing. Better finishing does not live in isolation; it upgrades your full offensive profile.
If you want results, keep the practice progression simple. Drill the footwork first, then add contact, then add reads. Work both hands, both sides, and different speeds. Film your reps, track makes from game-realistic spots, and study how great guards use pace before they use flair. Build these three finishes until they become automatic responses to common defensive looks. Start with ten quality reps of each move today, and turn rim pressure into the most reliable part of your offense.
Frequently Asked Questions
What is the difference between a euro step, a floater, and a reverse layup, and when should you use each one?
The euro step, floater, and reverse layup are all rim-finishing tools, but each one is designed to solve a different defensive problem. A euro step is best when a defender is squared up in front of you near the paint and you need to change direction on your final two steps without picking up your dribble too early. It lets you shift the ball and your body laterally, forcing the help defender to commit one way before you step around them the other way. This makes it especially effective against rotating bigs, secondary defenders sliding over late, or any shot blocker trying to meet you chest-to-chest.
A floater is the answer when the rim protector is dropping back or waiting near the restricted area, and a full layup would take you directly into their shot-blocking range. Instead of trying to get all the way to the basket, you release the ball softly from short range before the defender can contest at the top. Floaters are most useful in the gap between the free-throw line and the front of the rim, especially when the defense takes away a direct lane but still leaves just enough space for a touch shot over outstretched arms.
A reverse layup is ideal when you can get underneath or slightly past the basket and use the rim itself as protection from the shot blocker. Rather than finishing on the same side as the defender, you finish on the opposite side of the backboard, making the contest more difficult. This is particularly effective against athletic shot blockers who chase from behind or slide over late from the weak side. In simple terms: use the euro step to avoid a body in front of you, the floater to score before the shot blocker arrives, and the reverse layup to finish around the shot blocker once you are near or under the rim.
How do you execute a euro step legally and effectively without traveling or losing balance?
A legal, effective euro step starts with pace, control, and timing. The move usually begins after you gather the ball on a drive. Once the gather happens, you are working with your two legal steps. The first step attacks one direction, often toward the defender’s body or outside shoulder, to make them commit. The second step then goes laterally or diagonally the other way, creating the angle you need to finish. The key is that the ball must be gathered cleanly before those two steps are counted, and your footwork must stay organized. Most traveling calls happen when players take an extra step before the gather is clearly established or when they hesitate and accidentally turn the move into three steps.
To make the euro step effective, sell the first step with your eyes, shoulders, and hips. The move is not just about feet moving side to side; it is about shifting the defender’s balance. If your first step looks passive, the help defender will stay centered and recover. If your first step looks like a real finish attempt, the defender will lean, stop, or jump, and that is when the second step creates the opening. Keep your chest over your base and stay low enough to absorb contact. Many players lose balance because they step too wide or too upright, which makes the move slower and less controlled.
Ball protection matters just as much as footwork. Keep the ball tight on the gather and move it away from swipe-down defenders as you take your second step. You do not need to exaggerate the move; in fact, compact euro steps are often more effective than dramatic ones because they are faster and harder to read. Practice finishing with either hand and from different angles so the move does not become predictable. When done well, the euro step is not a trick move—it is a practical change-of-direction finish that creates just enough separation to score through traffic.
What makes a good floater, and how can players improve touch, arc, and timing on the shot?
A good floater combines touch, trajectory, and quick decision-making. Unlike a layup, which uses the glass or gets finished near the rim, the floater is a short-range shot released early and softly over defenders. The goal is to get the ball up before the shot blocker can contest it while still giving it enough arc to drop gently. The best floaters come off balanced footwork, usually with a one-foot or two-foot gather depending on the situation, and are released from a controlled body position rather than while drifting wildly backward or sideways.
Touch starts with relaxed mechanics. Players who push a floater too hard often fire it flat, causing hard misses off the back rim or backboard. Think of the shot as a soft lift rather than a forceful throw. Your wrist, fingers, and release angle should create a high, gentle arc. Timing is equally important. If you wait too long, the defender closes the space and turns your floater into a blocked shot or a rushed attempt. If you release too early without balance, it becomes a guess instead of a controlled finish. The sweet spot is recognizing the shot blocker’s depth and getting the ball up just before entering their ideal contest zone.
To improve the floater, practice from the middle lane, both elbows, and off the live dribble. Work on one-foot floaters for speed and two-foot floaters for control. Start close, then gradually move your release point farther out while maintaining the same soft touch. Use the backboard on some angles and go straight over the top on others. Just as important, train your eyes to read drop coverage, retreating bigs, and help defenders who stop short of full commitment. The floater becomes dangerous when you can recognize the defensive window instantly. It is not just a shot you take because you cannot reach the rim—it is a deliberate scoring solution against length and space-constricting defense.
Why is the reverse layup so effective against shot blockers, and what are the keys to finishing it consistently?
The reverse layup is effective because it uses the basket and backboard as shields. Against elite shot blockers, trying to finish directly on the same side of the rim often leads to blocks or altered shots. By taking your finish under the basket and extending to the opposite side, you force the defender to reach around or over the rim path, which is much harder to do cleanly. This changes the angle of the play and often turns a strong contest into a late, awkward recovery attempt.
Consistency begins with footwork and approach angle. A reverse layup works best when you get a step on your defender or when the help defender rotates from the middle. As you approach the basket, keep your body between the ball and the trailing defender as long as possible. Then, once you pass the front of the rim, extend the ball to the opposite side with control. Many misses happen because players rush the finish and fling the ball too hard off the glass. A reverse should still be soft and precise. Pick a clean target on the backboard and trust the angle rather than trying to overpower the shot.
It also helps to finish with both hands. If you can only reverse with your dominant hand, defenders can anticipate the path of the ball. Being able to go left-to-right or right-to-left makes the move far more versatile. Keep in mind that the reverse layup is not only for wide-open situations. It is especially valuable in traffic when a same-side finish would be exposed. Practice it from different drive lines, both off one foot and two feet, and against pad contact or simulated contests. The more comfortable you are finishing underneath the rim without panicking, the more effective the reverse becomes in real game situations.
How can players decide in real time which rim finish to use during a drive?
Choosing the right finish in real time comes down to reading the defender at the rim before you get there, not after you leave your feet. Great finishers do not drive blindly and then improvise at the last second—they process the help defense early. If the help defender is set in front of you and trying to take away your direct path, the euro step is usually the best answer because it lets you shift around their body. If the big is hanging back in drop coverage or waiting inside the paint without fully stepping up, the floater is often the right choice because it scores in the space they are conceding. If you beat your man and the shot blocker is chasing or sliding across late, the reverse layup becomes a smart option because it protects the ball with the rim.
Another useful way to think about it is by asking where the defender’s advantage is. If their advantage is position, use the euro step to change the angle. If their advantage is length near the basket, use the floater to avoid entering that space. If their advantage is recovery speed at the side of the rim, use the reverse layup to finish on the other side. This kind of decision-making improves when players stop treating these finishes as isolated moves and start seeing them as answers to specific defensive pictures.
To develop that skill, train with game-like reads instead of only scripted reps. Practice attacking cones, coaches, or teammates who vary their help position. Watch film and pause just before the finish to ask what the best option is. Over time, you will start recognizing patterns: a big stepping outside the restricted area invites the euro; a retreating center opens the floater;